
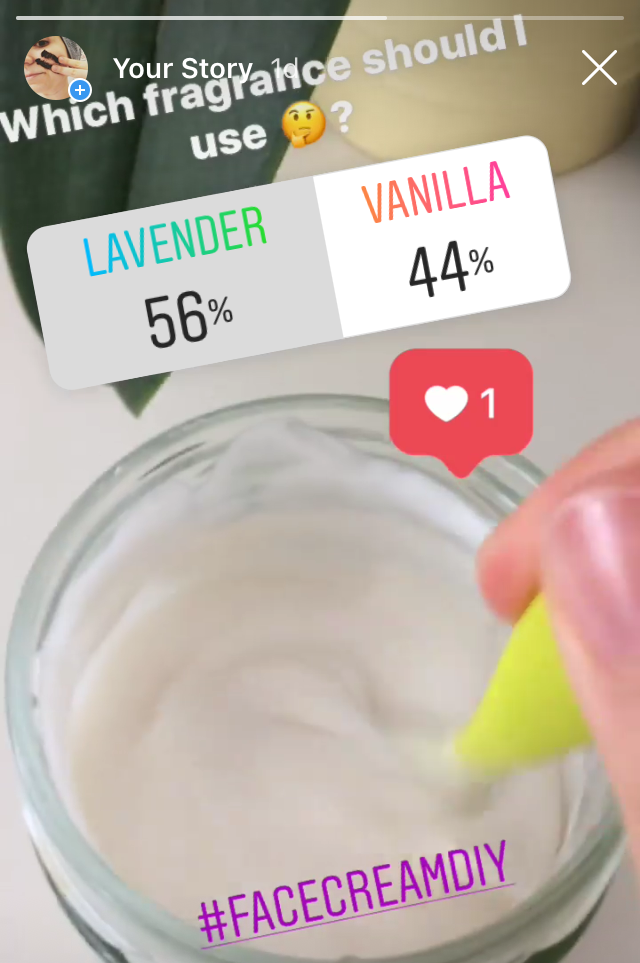
My beloved DIY green tea face cream is over and I urgently need a new one. These days, my skin face is not particularly dry so I decided to make a DIY face cream perfect for normal skin using less percentage of oils. This new cream will be formulated using fewer ingredients and adding the fragrance you chose through the survey on Instagram (don’t forget to follow me there). In the latter, I asked which fragrance to use between vanilla and lavender, and the result was 56% for lavender against 44% vanilla.
Disclosure: Some of the links in this post are affiliate links. By clicking through them and making a purchase, I may receive a small commission WITHOUT any additional cost to you.
MEDICAL DISCLAIMER: All information presented on this website is for informational purposes only. This website is NOT intended to diagnose, treat, cure or prevent any disease and is NOT intended to be a substitute or replacement for any medical treatment. Please seek the advice of a healthcare professional for your specific health concerns. Individual results may vary.
Gabi
DIY Face Cream for Normal Skin
Creating your own cream at home is a perfect method to be able to choose which ingredients to apply to our skin according to our needs. To create our cream we will need three important categories of ingredients: oils and butter, water and ingredients soluble in it, and an emulsifier to combine these two phases. In these links, you will find some theoretical background and the ingredients that can not be missing in your cream.
Ingredients: DIY face cream for normal skin
The ingredients for 100g (3.5 oz) are:
Phase A
- Distilled water 76g (2.7 oz) (find it here)
- Glycerin 5g (0.17 oz) (find it here)
- Xanthan gum 0.4g (0.01oz)(find it here)
Phase B
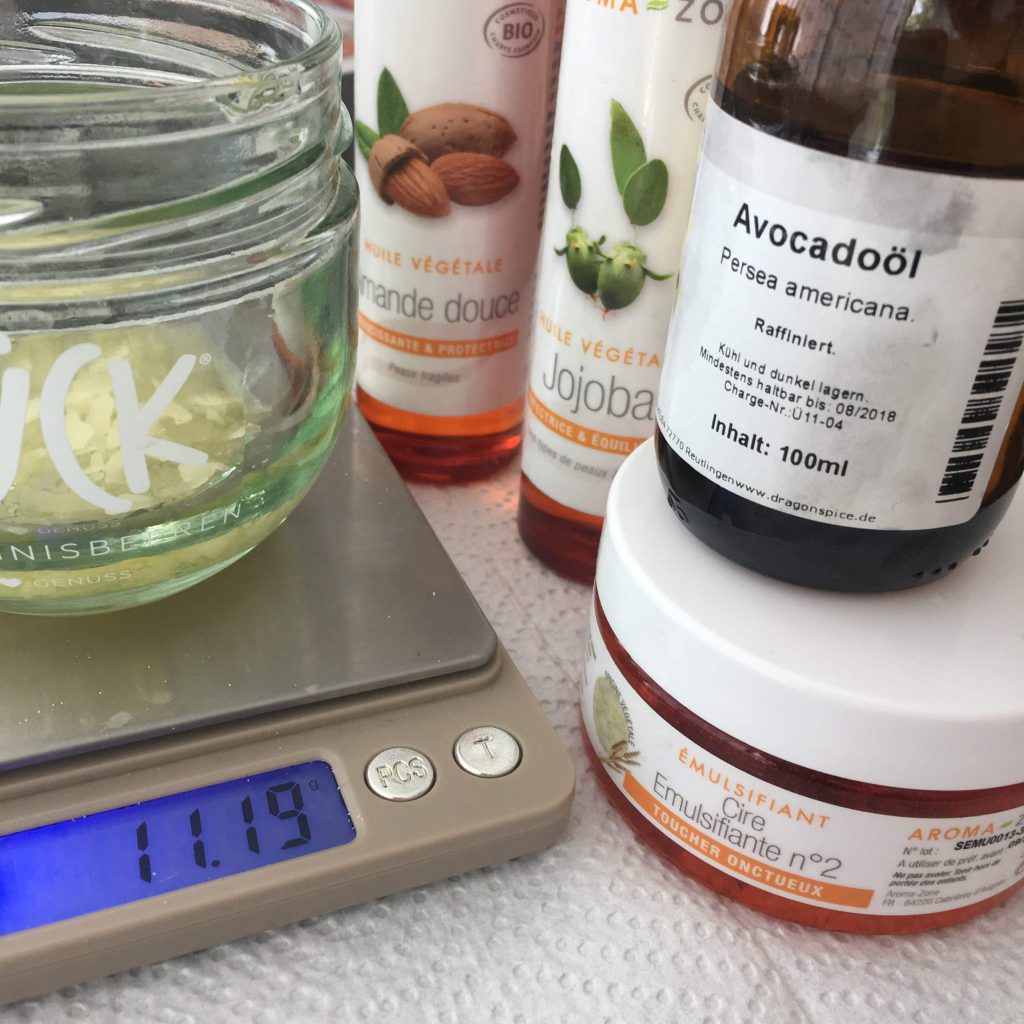
- Emulsifier 5g (0.17 oz) (I used Olivem1000) you can find it here
- Avocado oil 2.5g (0.08 oz)(you can find it here)
- Sweet almond oil 2.7g (0.09 oz)(you can find it here)
- Jojoba oil 1.5g (0.05 oz) (you can find it here)
Phase C
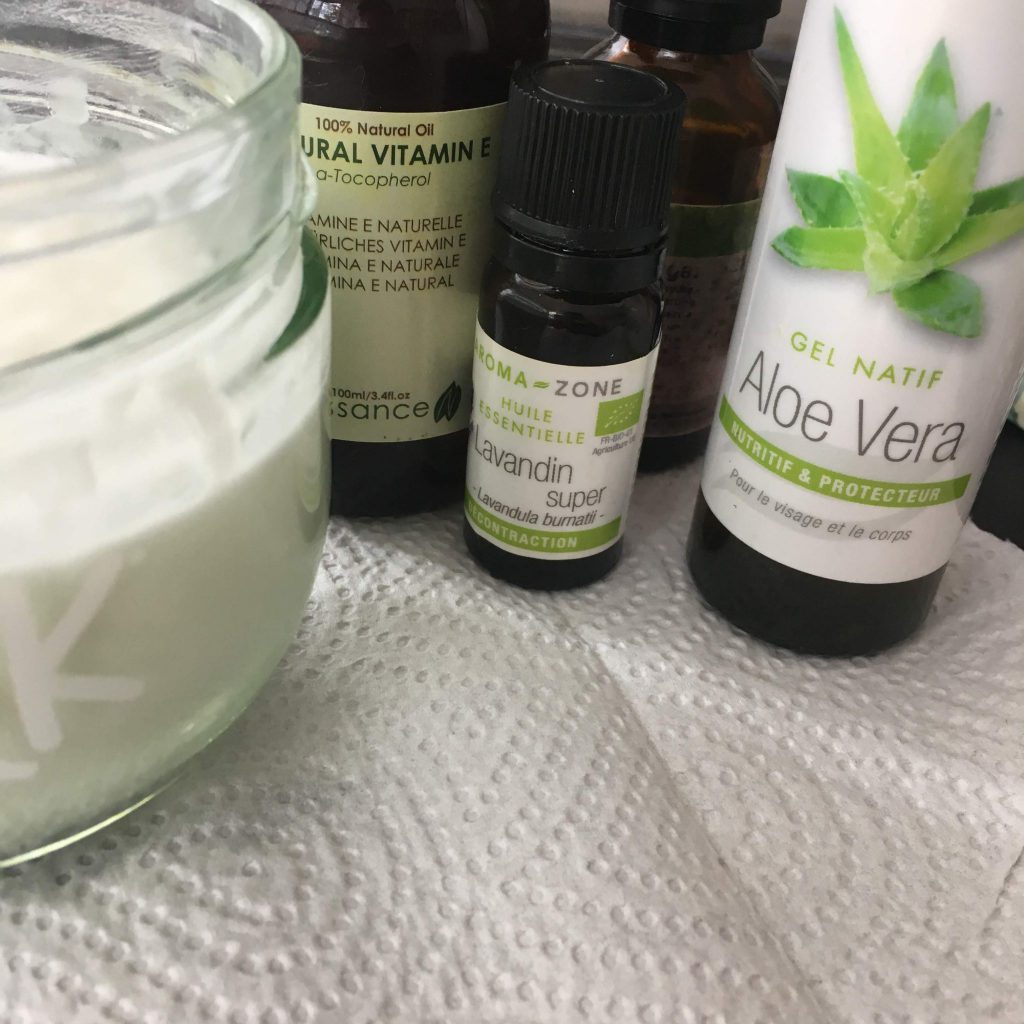
- Gel aloe vera 5g (0.17 oz)(you find it here)
- Tocopherol – Vit E 1g (0.03 oz) (you can find it here)
- Preservative 0,6g (0.02 oz)(you can find it here)
- Panthenol 0,3g (0.01 oz) (you can find it here)
- Lavender fragrance 6 drops (you can find it here)
Procedure:
Phase A
- In a glass jar, weigh the Xanthan Gum and add glycerin. Mix the two ingredients with a teaspoon and leave it for a while.
- Warm up the distilled water and, once it’s hot, pour into the glass jar containing Xanthan gum and glycerin, and mix them.

Phase B
- In a second glass jar, weigh all the ingredients listed as Phase B such as oils, butters, and emulsifiers. Warm them up in a microwave or in a bain-marie till they are melted.
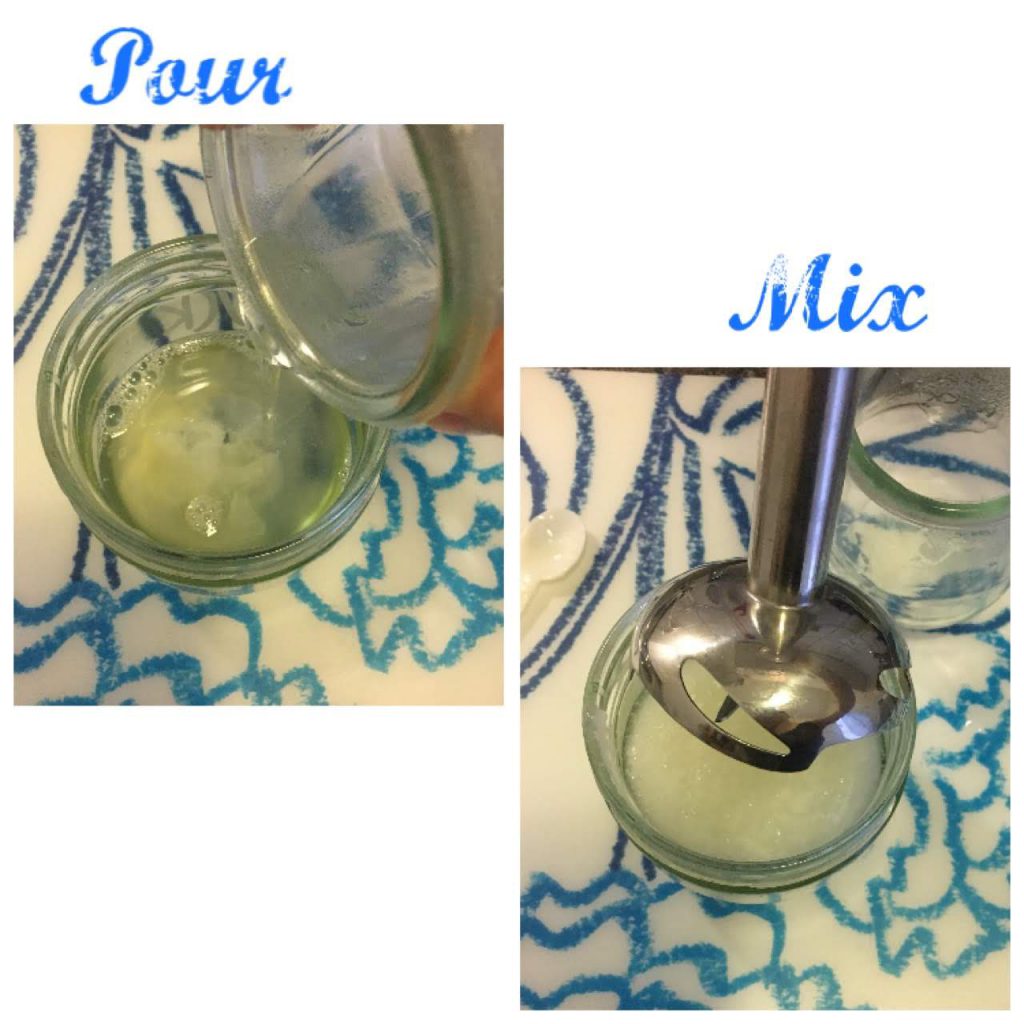
Phase A+B
- Pour the phase B into A (both warmed).
- Mix the two phases using a hand blender and let the cream cool down.
Phase C
- When the cream has reached room temperature, we can add all the ingredients from step C and combine them with the face cream.
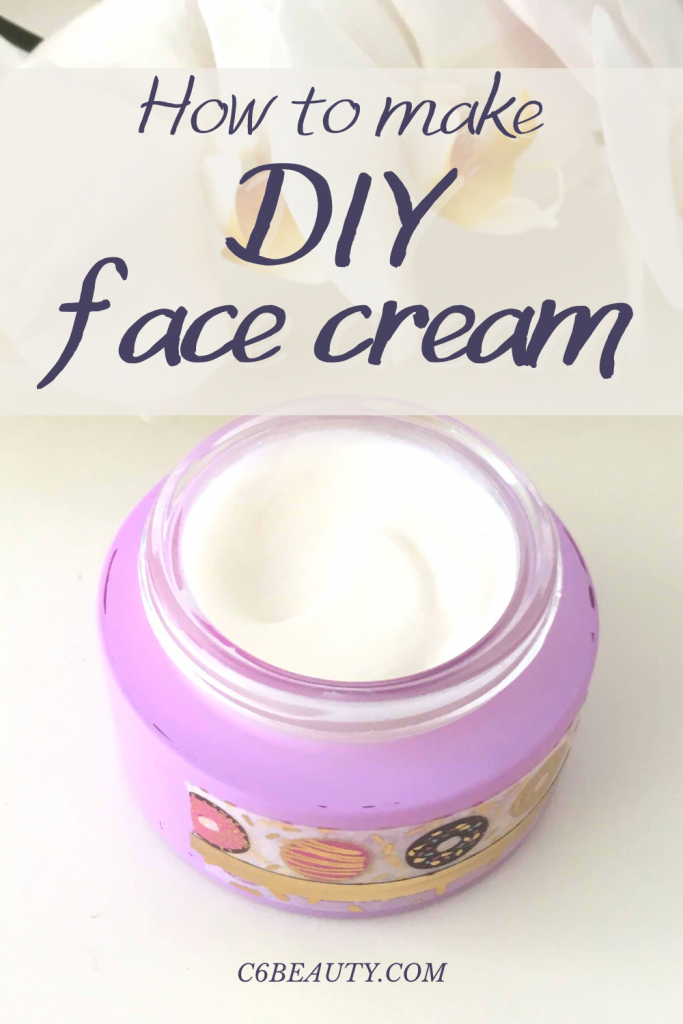
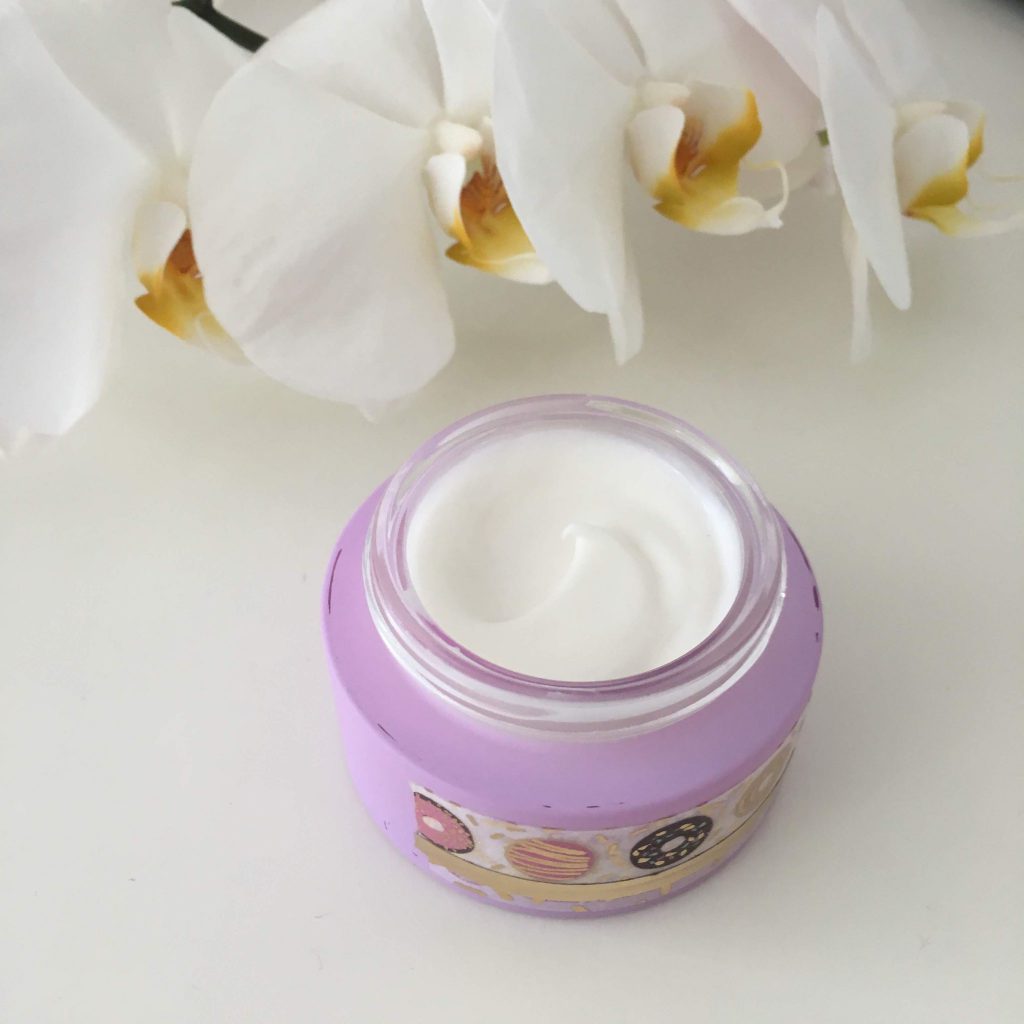
Now your cream is ready to be used. I used an old container that I previously washed and labeling with cute adhesive tapes.
I also tried to use it as a night cream given the presence of the lavender fragrance. In fact, lavender has relaxing properties that also help against stress and insomnia.
Before saying goodbye…I designed this short guide to help makers to create their own lip products at home starting from zero! Knowing why certain ingredients are used is the key to creating perfect and effective products! In this guide, you will find not only 3 recipes (about lip scrub, lip mask, and lip balm) and instructions but also the basics of understanding why and which ingredients to use. Check it out!

Start with my FREE natural skincare challenge! Grab it now!!
Gabi
Hi, if I want to add powdered extract can I add it in phase A with the water?
Hello, Nadia. Powder extracts should be introduced into the same phase in which they dissolve. If, for example, the extract you want to use dissolves in water, you can easily add it in phase A. If you bought the extract online, you should find this info among the ingredient characteristics. Otherwise, write to me here below which extract you want to use and I’ll give you my help 🙂
If I want to add rose water, should this be in Phase C too?
Hi Elise! I’m glad you’re interested in making your own creams! When I use hydrolats in creams, I add them in phase A, with water and any other water-soluble ingredients. I’ll leave you the link to a post of mine, about the different phases. http://3.71.206.241/skin-cream-formulation-ingredients/
In any case, if you have other questions, write to me without hesitation. You can easily drop me a message on IG (@c6beauty) o Fb to have a more immediate response 🙂
Happy DIY day!